Shortcut Labs
Stockholm, Sweden
Flic App for Mac - Plugins
What is a plugin?
In short, a plugin is an action that can be created by anyone and loaded by the Flic app at a later time in order to extend the functionality of the app. This allows you to add actions that are by default not included in the app.
How to create a plugin
Before you create a plugin you must first decide what you want it to do. All the plugin really does is to let the Flic app know how this action should be displayed and how it should execute the programs that you have created when the Flic button is pressed. Contained within the plugin could for example be a Bash script, Shell script, Python script, AppleScript, or any other executable file format. Once you are happy with your scripts you can turn them into a plugin simply by creating a containing folder for them and adding a JSON config file.
In this short example we will show you how to make a plugin that can be used to take screenshots. Once complete it will appear in the Flic app and be configurable like any other action:
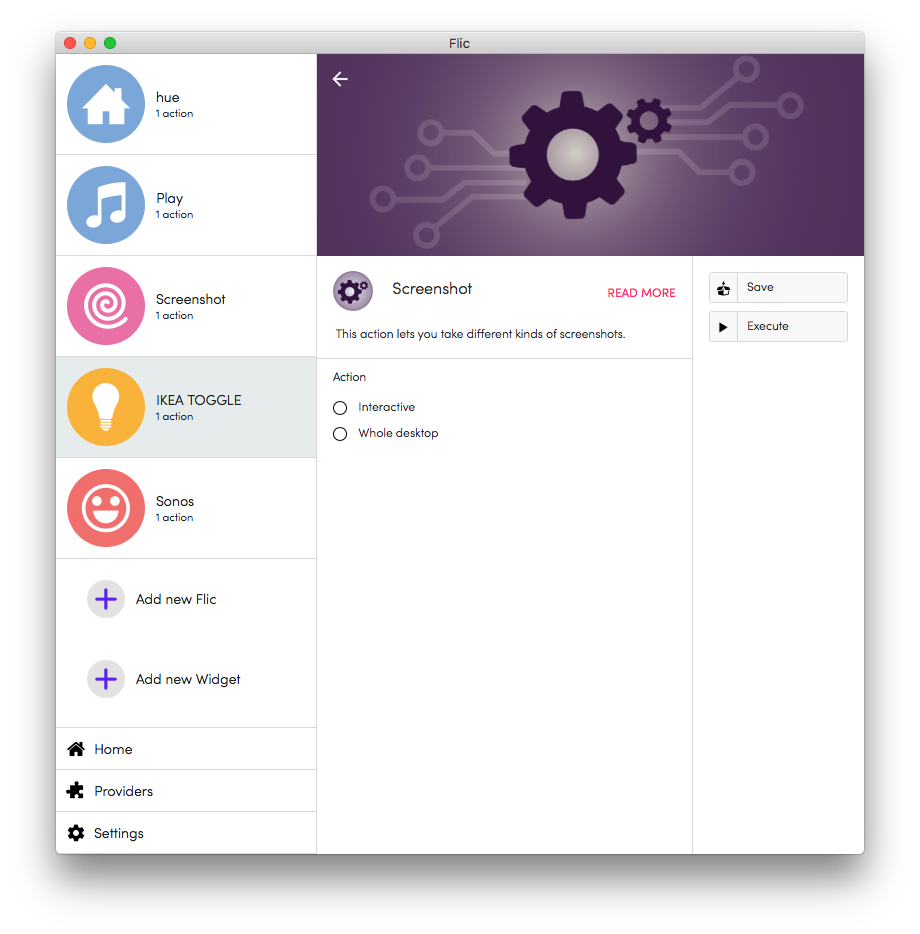
The screenshot action contains two options, "Interactive" and "Whole desktop". Each of these options are represented by a stand-alone script file which looks like this:
Make sure that the script files you create have the correct "Execute" file permission. Once you have all the scripts that you want to be included in your plugin you can go ahead and create a JSON config file with all the required information. In this case it will look like this:
It should be quite self-explanatory how the config file works, but for a reference we have listed the information below.
- pluginName - The name of the plugin that will appear as the action name in the app.
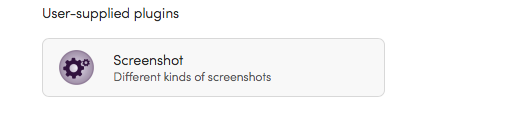
- pluginDescription - The short informative text that is used as the subtitle when displayed in the action list and under each triggers types.
- pluginReadMore - The long informative text that is displayed in the action settings screen when pressing the READ MORE button.
- protocolVersion - The protocol version supported by the plugin. This is needed to make sure that your plugin is future proof in case more features are added to the plugin system in a later app release. For now this must be set to 1.
- actions - A list containing each selectable option in the action settings screen. Each element is a dictionary containing the name of this particular option as well as the name of the script to be executed for that particular option.
Once complete the plugin folder should look something like this:

How to load a plugin
In macOS every sandboxed application has a particular folder where script execution is allowed. So, in order for the plugins to work they have to be placed in that particular folder. Every time the Flic app is launched the application will load each plugin that is placed in this folder. This can also be done manually from the menu bar by navigating to "Plugins -> Reload Plugins".
The correct folder to place the plugin in is:
Just navigate to this folder using Finder and place the plugins there. Pressing the "Plugins -> Show Folder..." option from the menu bar will open a finder window with the correct folder for you.
You can download the a zipped version of the screenshot plugin used in this tutorial here: screenshotPlugin.zip